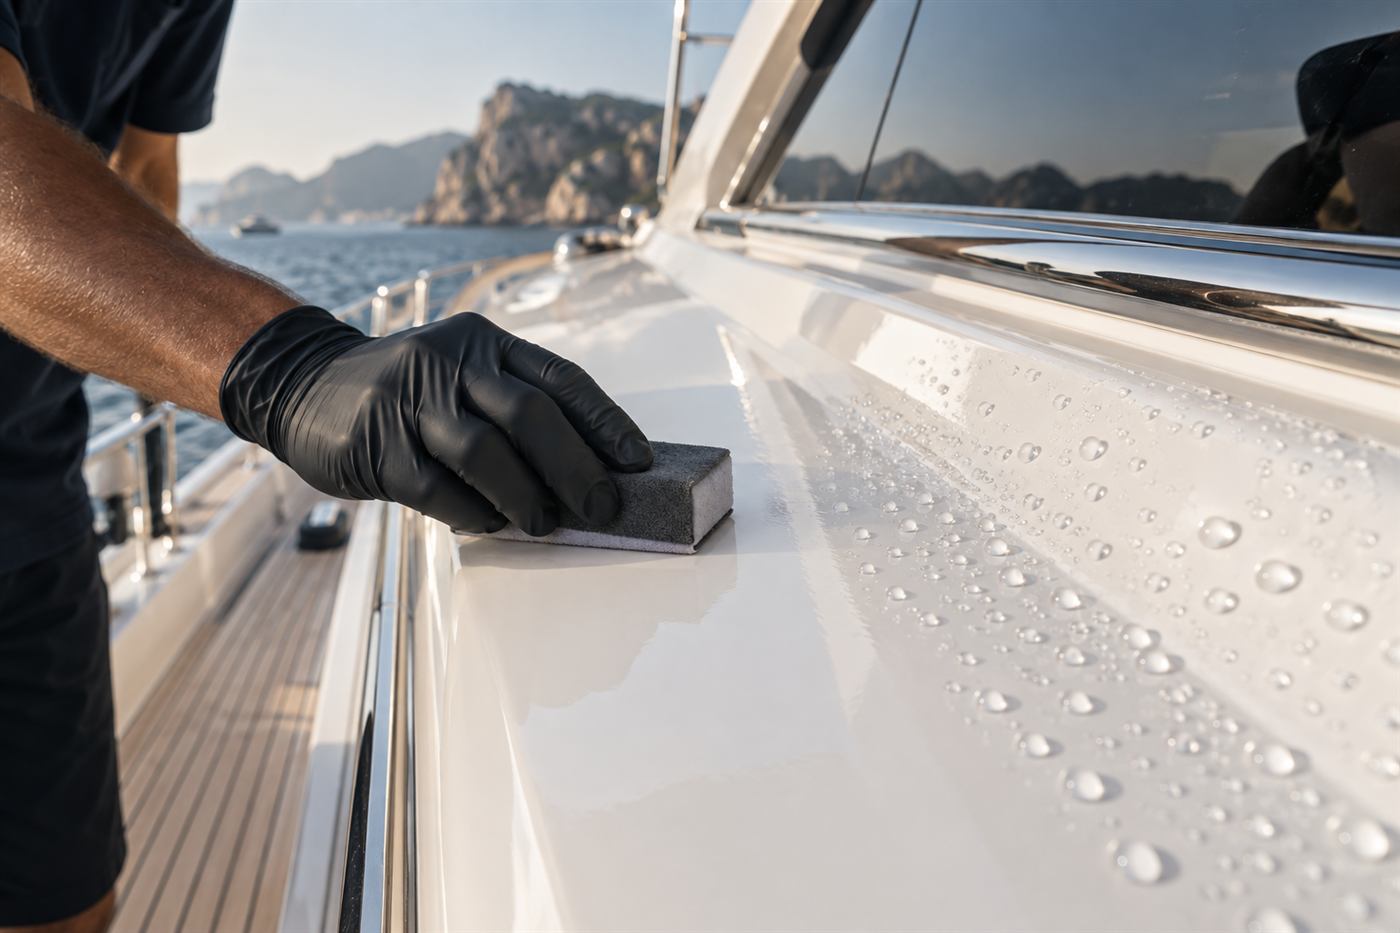
What gelcoat is and why it needs correcting
Gelcoat is the pigmented resin layer on the outside of most fiberglass boats. It is thin, usually only a fraction of a millimeter to a little over a millimeter thick, and it is the surface that carries the color and the gloss. Under it lies the structural laminate. The gelcoat protects that structure from water and gives the boat its look.
Over time, sun, salt, heat and washing change the surface. Ultraviolet light breaks down the resin at the top, leaving a microscopic layer of loose pigment and degraded material. That layer is what you see as chalky, dull or faded gelcoat. The color underneath is often still fine, but it is hidden under a film of oxidation. Our guides on how gelcoat ages and understanding oxidation explain this in more detail.
Compounding is the process of removing that degraded layer. It uses an abrasive compound, usually applied with a machine and a pad, to cut away the oxidized material and the finest scratches. What remains is a fresh surface that can then be polished and protected.
It is important to understand that compounding removes material. The gelcoat is finite. Each compounding session takes away a small amount, which is why a good technician does only as much as needed, uses the least aggressive combination that works, and does not recommend aggressive correction on a surface that only needs a wash and a wax.
How abrasives work
A compound is a liquid or paste that contains tiny abrasive particles suspended in a carrier. When the pad spins or oscillates against the surface, the particles scratch the gelcoat in a controlled pattern. Heavier compounds contain larger or harder particles and cut quickly, leaving finer scratches behind. Polishes contain smaller particles and refine the surface, removing the scratches left by the compound.
Think of it as sanding in stages. A coarse stage removes the damage. A finer stage removes the marks the coarse stage made. A finishing stage brings the gloss. Each stage uses a smaller abrasive than the last. Skipping a stage leaves visible marks, such as haze, swirls or holograms, especially in sunlight.
Modern compounds often use abrasives that break down as they work, so the cut changes during use. A technician working a section pays attention to how the product behaves, adding product, slowing or speeding the machine, and wiping off residue to check progress. This is a hands-on skill, not a setting on a dial.
Different manufacturers use different abrasive technologies, and the product has to match the condition. Heavily oxidized gelcoat needs a stronger cut than lightly hazed gelcoat. Painted surfaces, such as a painted hull or topside, are much thinner than gelcoat and need far gentler correction. Our guide on gelcoat versus paint care explains why.
Pads, machines and technique
The pad is half of the system. Wool pads cut aggressively and are used on heavy oxidation. Foam pads come in a range of firmness, from cutting foam to polishing foam to soft finishing foam. Microfiber pads sit between wool and foam in terms of cutting power. A technician picks the pad to match the compound and the condition.
Machines vary too. A rotary polisher spins on a single axis and cuts quickly, but it generates heat and can burn or swirl the surface if misused. A dual action or random orbital polisher moves in a more random pattern, which is safer but slower. Many marine detailers use both, starting with the faster tool where it is justified and finishing with a gentler one.
Technique matters as much as equipment. The technician keeps the pad flat against the surface, moves at a steady pace, overlaps passes, and works in a small area at a time. Pressure, speed and angle all change the result. Working on edges, curves and sharp corners requires extra care because the gelcoat is thinner at edges and a spinning pad can cut through it quickly.
This is why compounding is not a good first project for an enthusiastic owner with a hardware store buffer. Mistakes such as burn-through, swirl marks and cut-through at edges can be expensive to repair. The detailer's experience is part of what you are paying for. If you are curious about the process, ask the technician to explain what they are doing, and ask to see a test area.
Heat: the quiet risk
Friction creates heat, and heat is the main hazard in compounding. A machine pressed too hard or held in one place builds heat quickly. Gelcoat softens as it warms, and excessive heat can cause the surface to burn, discolor, or smear. In Florida, the sun adds to the problem. A dark hull in direct sun can be hot to the touch before the machine even starts.
For this reason, technicians avoid compounding on hot surfaces. They work in shade, at cooler times of day, or in sections that can be kept cool. They also check the temperature of the surface by hand and by feel, and they allow it to cool if it gets too hot. A good technician does not rush through a hull in midday sun.
Heat is also a reason for moderation near fittings and edges. Resin around hardware, rub rails, and thin trim can soften and be damaged. Protecting those areas with tape and keeping the machine moving reduces the risk.
As an owner, you may notice that a detailer schedules hull compounding early in the morning or asks for a shaded slip. That is not stalling. It is a sign of care. If a quote suggests doing the whole job quickly in full sun, ask how heat will be managed. For timing in the local climate, see our summer heat and UV guide.
The test spot: how technicians choose the approach
Before compounding a whole hull, a careful technician tests a small area. The test spot is a section, often about two feet square, in an inconspicuous area. The technician starts with the gentlest combination likely to work, such as a polish on a foam pad, and checks the result. If the surface is not improving enough, they step up to a stronger pad or compound, and test again.
The goal is to find the least aggressive method that delivers an acceptable result. This protects the gelcoat, saves time, and avoids unnecessary material removal. It also gives you an honest preview. You can look at the test area and decide whether the result matches what you hoped for.
A test spot also reveals conditions that are not visible beforehand. The gelcoat may be thinner than expected, the surface may have been repainted, or a previous coating may interfere. A repaired section may have a different color or reaction. Finding this out on a small area is much better than discovering it halfway across the hull.
Ask to see the test spot and take a look in good light, preferably natural sunlight. Take photos of the before and after. If the technician does not do a test, ask why. On a boat where the condition is uniform and the process is routine, a short test may be quick, but skipping it on an unknown surface is a risk.
Refining the finish: from cut to gloss
After the cutting stage, the surface is clean but not yet glossy. Fine scratches from the compound leave a slight haze. The refining stage uses a finer polish on a softer pad to remove those marks and bring up depth. This is where the hull begins to look wet and reflective.
A final wipe removes residue and oils so that the technician can inspect the surface under light. Inspection lights and daylight reveal swirl marks, haze and holograms that might not show indoors. If marks remain, another pass with a finer product may be needed.
Only after refining does protection go on. Wax, sealant or a coating protects the corrected surface from the same factors that damaged it. Without protection, a freshly compounded surface oxidizes faster, because the new surface has no layer of old oxidation to sacrifice. Our guide on wax, sealant and ceramic compared describes the options.
This sequence, cut, refine, protect, is the same on a small center console and a large yacht, though the time scales differ. It is also the logic behind the way compounding is described on the compound and polish page, and the reason that compounding is normally preceded by a thorough wash and sometimes a clay or chemical decontamination step.
What compounding cannot do
Compounding addresses the surface. It cannot repair structural damage, deep gouges, cracks, blisters, delamination or osmosis. If a scratch can catch a fingernail, it may be too deep to remove without refinishing, and attempting to remove it with abrasion could thin the gelcoat too much around it.
It also cannot restore gelcoat that has been worn through. If the gelcoat is thin from many years of aggressive correction, there may be little material left to cut. In that case, the honest recommendation is gentler care, repair, or repainting. A technician should be willing to tell you that.
Stains that go deep, such as rust, heavy yellowing, or dye transfer, may or may not respond to abrasion. Some are chemical issues that need a different approach. Our page on gelcoat oxidation removal describes how oxidation work differs from stain work.
Finally, compounding does not make a surface permanently glossy. Sun and salt continue to work on it. Regular washing and protection preserve the result, and neglect brings back dullness. Set your expectations accordingly, and treat compounding as a restoration step followed by maintenance rather than a one-time fix.
Compounding on different surfaces and conditions
Not every surface on a boat is the same, and the approach changes with the material. Bare gelcoat is the most forgiving, because it is a relatively thick layer of resin and can take careful correction. Painted surfaces, such as a painted hull or topsides finished with a two-part paint, have a much thinner film, and aggressive abrasion can burn through to the layer below. A technician working on paint uses fine polishes and gentle pads, and will often decline to compound at all if the paint is thin or the system is unknown.
Coated surfaces need a different conversation. If a hull carries a ceramic coating or a sealant, compounding will remove it along with the oxidation, and the protection has to be reapplied afterward. Some owners want the coating kept in place and only cleaned, which is a different job. Tell the technician about any coating on the boat, and if you do not know, say so, because a test spot can reveal it by the way water behaves on the surface.
Previously repaired areas deserve attention. Patches, repainted sections and touched-up gelcoat may not match the surrounding finish in hardness or color, and they can react differently to the compound. A technician who spots a repair will usually treat it more gently and tell you what to expect, because the repair may stand out more after the rest of the hull is corrected.
Color matters too. Dark hulls show every scratch and swirl, and need more careful finishing. White and light colors hide fine marks but show yellowing and stains. Metallic and pearl finishes can reveal inconsistencies in pad choice. None of this is a reason to avoid correction. It simply means that the finishing stage is more important on some colors than others.
Finally, consider the shape of the hull. Flat sides are straightforward. Curves, flares, chines and the area around windows, cleats and rails need hand work or smaller pads, and they take longer. A large yacht with a complex superstructure can take far more time than its length suggests, which is why scope and access shape a quote.
Caring for a compounded finish afterward
A freshly corrected surface is at its most vulnerable for a short time, until protection has cured and settled. Ask the technician for specific instructions, because they depend on the product used. In general, keep the boat out of heavy rain and sprinklers for the period recommended, avoid harsh chemicals, and wash gently with a marine soap and soft tools.
Rinse after every saltwater outing. Salt left to dry on a protected surface is not an immediate problem, but repeated cycles wear the protection and encourage dull spots. Our guide on how to rinse a boat after saltwater use describes a sensible routine.
Avoid dragging gear across the hull. Fenders, dock lines, ladders and tender collars leave marks where they rub, and those marks are often the first thing to dull the new finish. Use fender covers and keep lines clear of the hull sides.
Plan maintenance rather than waiting for dullness. A light polish and a fresh layer of protection before the surface has gone chalky is a much easier job than full restoration. The technician can advise on a schedule suited to your boat, its location and how it is used.
Questions to ask before a compounding job
A few well-chosen questions help you understand the plan. Will there be a test spot, and can I see it? What compound and pad will you start with, and why? How will you manage heat and avoid working in direct sun? How will you protect edges, trim and hardware? What protection will be applied afterward, and what maintenance does it need?
Ask also about scope. Does the quote cover the whole hull or only the sides? Are the topsides, the flybridge, the tower and the transom included? Are raised surfaces and tight areas, such as around cleats and windows, part of the work? Our guide on how detailers quote yacht work explains why scope drives the price.
Quotes are given only by phone, and compounding is a good example of work that often needs an on-site visit first. The technician has to see the oxidation, check for repaired areas and thin gelcoat, and consider how the boat sits in the slip. A service call charge applies for the visit, and it is explained on the phone before anyone is sent.
If you are ready to talk it through, call and describe the boat: the color, the age if you know it, the level of dullness, and whether anyone has compounded or painted it before. That information lets the technician say whether a phone quote makes sense or whether a look is needed first.
Questions people ask
Does compounding damage gelcoat?
It removes a very thin layer, so it should be done only as much as needed. A careful technician uses the least aggressive method that works, tests first, and avoids repeated heavy correction. Done correctly it restores the surface, but gelcoat is finite, so unnecessary or repeated aggressive compounding is something to avoid.
What is the difference between compound and polish?
Compound has larger abrasive particles and cuts oxidation and scratches. Polish has finer particles and refines the surface, removing the marks that compound leaves. The usual sequence is compound, polish, then protection. Lightly dull gelcoat may need only polish, while heavy oxidation needs a compound first.
Can I compound my own boat?
Owners do, but machines can burn or cut through gelcoat quickly, especially at edges, and mistakes are costly to repair. If you try it, read your manufacturer's guidance, test a small area first, and never work on a hot surface. For a large boat or heavy oxidation, a professional with experience is the safer choice.
Why is compounding scheduled in the morning or in shade?
Heat is the main risk. A hot surface softens, and friction adds more heat, which can burn or smear the gelcoat. Working in shade or at cooler times keeps the surface within a safe range, and it also lets the compound work properly instead of drying out too quickly.
How long does a compounded finish last?
It depends on the sun, how often the boat is washed, how it is stored, and what protection is applied afterward. A protected surface that is washed gently and regularly holds up better. No one can promise a fixed duration, so ask the technician about maintenance and what to expect for your boat.
Will compounding remove deep scratches?
Light scratches usually improve or disappear. Deep scratches that catch a fingernail may only soften, and removing them completely could thin the gelcoat too far. A technician should tell you honestly after seeing the boat. Deep damage is often better handled by a fiberglass repair professional.
Describe the situation by phone and we will tell you what the job involves. Quotes are given by phone. Jobs that cannot be quoted without seeing them need a technician on site, and the service call charge is explained on the phone before anyone is dispatched.
(954) 719-3572