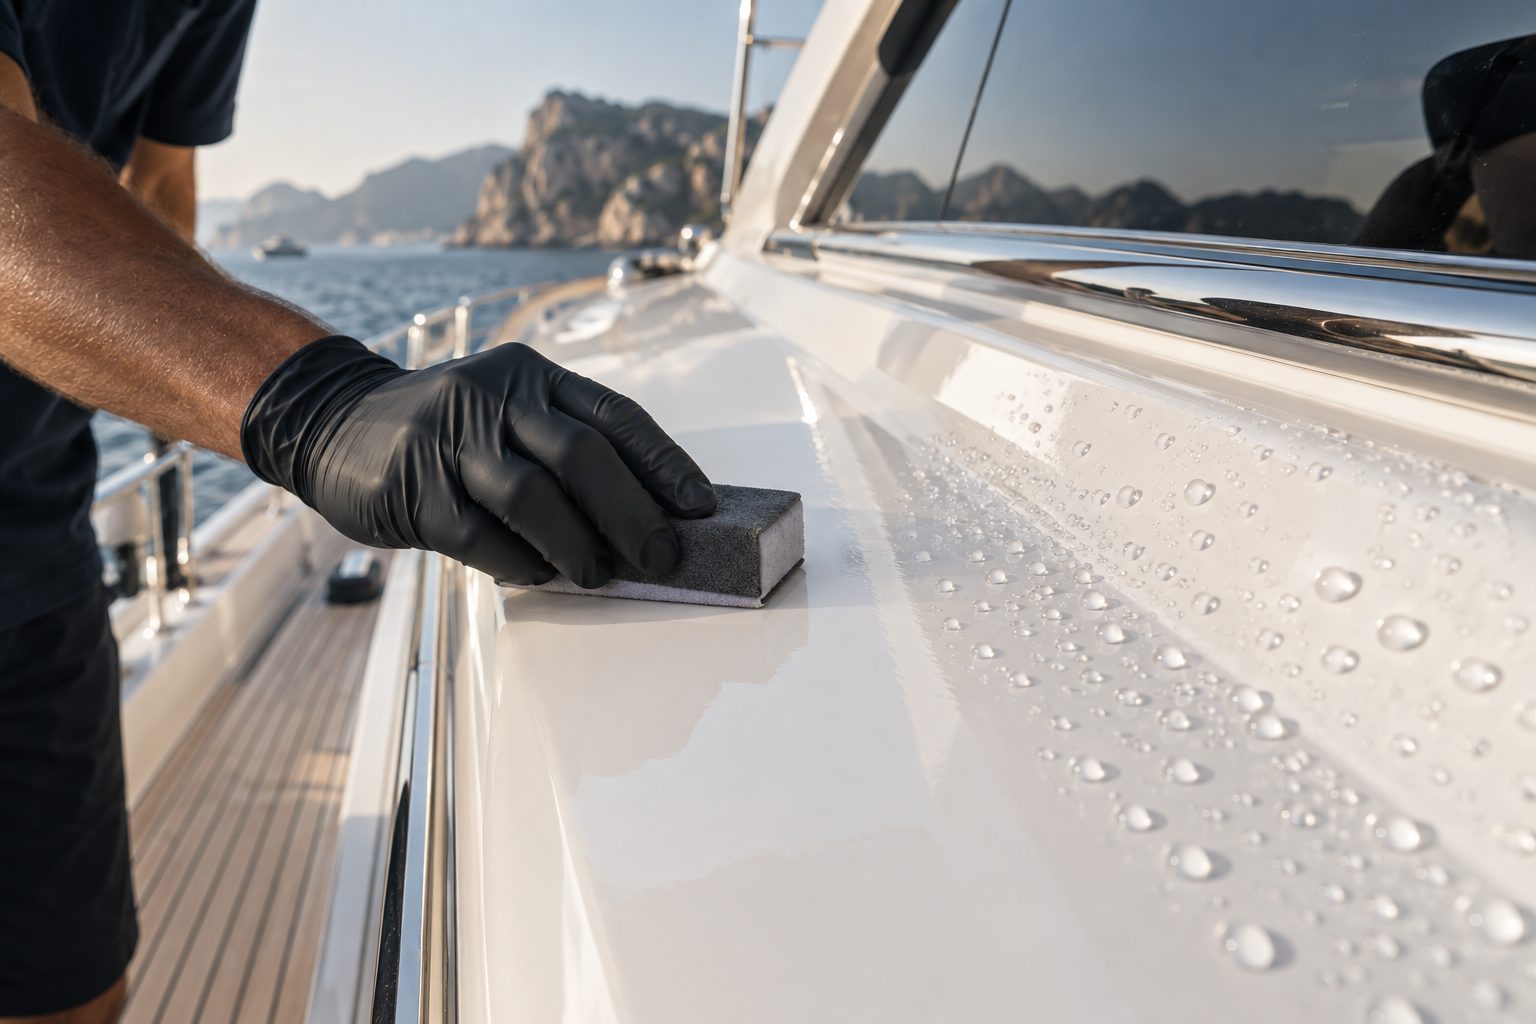
What restoration means and how it differs from a detail
A regular detail cleans, polishes lightly and protects a surface that is basically healthy. Restoration is for surfaces that have gone past that point. The gelcoat may be heavily chalked, stained through, scratched all over or uneven from years of mixed care. The work is slower, takes more stages, and removes more material.
That difference matters because expectations should match the process. A restoration can transform a boat, but it will not make a decades-old hull look like it just left the factory if the gelcoat is thin or damaged beneath. The aim is the best result the surface can safely give.
Restoration also differs from repair. If the problem is cracks, blisters, delamination or soft spots, that is structural work for a boatyard or repair shop. A detailer can polish a repaired surface afterward but does not take the place of a fiberglass repair trade. The line between the two is explained in the guide on gelcoat repair versus detailing.
Assessing the scope before anything starts
A good restoration begins with a walk around the whole vessel, in daylight, with the surface clean enough to read. The technician looks at the hull sides, deck, cabin top, flybridge, cockpit and any molded features, and compares condition from one area to another. Sun-facing surfaces usually look worse than sheltered ones, and the difference tells you how the boat was kept.
Test patches are done in several places, not one. A single section might respond well and mislead you about the rest. The tests show how deep the oxidation goes, how much gelcoat is left, and how aggressive the process needs to be.
The assessment ends with a plan that sorts the vessel into zones. Some areas may need only a polish. Others may need compounding. A few may need wet sanding first. Some may be left alone because there is not enough gelcoat to risk. That sorted plan is the basis for any quote, and it is why larger restoration jobs usually need an on-site visit rather than a phone estimate.
- Gelcoat thickness and condition on the hull sides, deck and cabin top
- Depth of oxidation and presence of chalk
- Stains, scratches and swirl marks from earlier work
- Cracks, crazing, blisters or repairs that need a different trade
- Trim, decals, hardware and paint that need masking or separate handling
Stage one: wash, decontaminate and prepare
Every restoration starts with a thorough wash. Salt, grime, wax buildup and old polish residue all get in the way of cutting and can be ground into the surface if left. The wash uses a marine soap and soft tools, and it includes the places that are easy to miss: around fittings, under rub rails, in recesses and along the waterline.
Decontamination follows. Embedded iron, tree sap, overspray, paint dust and tar can be lifted with clay and targeted cleaners. Stains such as tannin lines or rust streaks are treated separately, as described on waterline stain removal and rust stain removal.
Last in this stage is masking. Trim, decals, windows, vinyl, painted stripes, rubber and hardware are covered or protected. Time spent masking prevents damage later and keeps compound off materials that do not forgive it.
Stage two: wet sanding, and when it is used
Wet sanding is used on gelcoat that is too damaged for compound alone, such as deep scratches, stubborn stain or heavy, uneven oxidation. It involves working the surface with very fine, wet abrasive paper to level it before compounding. It removes more material than compound alone, so it is used only where needed and only on gelcoat with enough thickness.
The skill is in restraint. Technicians use the finest grit that does the job, keep the surface wet, work with light pressure, and check often. Edges, corners and curves are approached with caution since gelcoat is thinner there and the risk of sanding through is higher.
Many boats never need wet sanding. If compound and polish bring the surface back, there is no reason to sand. A technician who proposes wet sanding on every job is removing more gelcoat than necessary. The choice between sanding and compounding is explained alongside the polishing process on compound and polish.
Stage three: compounding and refining
After any wet sanding, the surface is compounded to remove the sanding marks and any remaining oxidation. Compounding uses a cutting product and a pad matched to the gelcoat and the job. The work is done in small sections with the machine kept moving, since heat builds quickly and gelcoat softens as it warms.
Refining is the stage that makes the gloss. A finer polish and a softer pad remove the haze that compounding leaves and bring up depth and clarity. On dark hulls, this step takes the most care, since any remaining marks catch the light.
Between passes, the surface is wiped and inspected from several angles and under different light. A finish that looks perfect in shade can show swirls in direct sun, so inspection continues until the surface looks even in both. The overall method also appears in the owner guide on gelcoat compounding.
- Wash and decontaminate the whole vessel
- Mask trim, decals, hardware and painted areas
- Wet sand only the areas that need leveling
- Compound to remove sanding marks and oxidation
- Refine with a finishing polish for depth and clarity
- Protect the restored surface with sealant or coating
Stage four: protection that makes the work last
Restored gelcoat is open and fresh. Leaving it unprotected invites oxidation to return quickly, and much of the effort can be lost within a season. Protection is therefore built into the restoration, not added as an afterthought.
The options range from marine wax to synthetic sealant to ceramic coating. Wax is easy and warm in appearance but short-lived. Sealant lasts longer and handles UV better. Ceramic coating offers the hardest, slickest finish and is the most durable, as described on ceramic coating. None is permanent and none replaces washing.
The right choice depends on your plans. If you intend to sell soon, a clean polish and sealant may be enough. If you keep the boat for years in the sun, coating can be worth considering. The honest comparison in is ceramic coating worth it for boats helps you weigh it.
Non-gelcoat surfaces within a restoration
A weathered boat usually has more than gelcoat to restore. Non-skid decks may be embedded with dirt. Vinyl seating may be mildewed or faded. Clear enclosures may be clouded. Metal fittings may be dulled or pitted, and teak may be gray. Each material has its own method and cannot be treated with the same products.
Because of this, a restoration is often a set of linked jobs rather than one. Deck cleaning, upholstery care, enclosure cleaning, metal polishing and teak work each have their own pages, such as non-skid deck cleaning, vinyl upholstery cleaning and bright work metals.
Sequencing matters. Compound dust and polish residue settle on everything nearby, so the polishing of hull surfaces generally comes before final cleaning of decks, glass and hardware, and the final wipe-down comes last.
Realistic expectations and what restoration cannot do
Restoration can remove oxidation, level scratches within reason, bring back gloss and make a surface much easier to maintain. It cannot repair cracks, fill blisters, replace missing gelcoat or reverse structural damage. It cannot erase every scratch, and very deep ones may remain visible.
Some stains lighten but do not vanish. Yellowing that comes from the gelcoat itself, rather than from a surface film, may only improve partway. Dark gelcoat that has faded unevenly may not match perfectly across all panels.
A candid technician will tell you where the limits are before work begins. If the surface is too thin in places, those areas may be left alone or protected in place. The goal is the best safe result, not the most dramatic one at any cost.
Maintaining a restored boat
A restored boat is easiest to keep up while it is still in good shape. Regular washing with marine soap, a fresh-water rinse after use, and protection renewed on a schedule suited to your exposure will keep the surface looking its best for much longer than neglect and repeat restoration.
A recurring service, described on recurring maintenance plans, can keep the washing and protection steady without heavy intervals. Light attention is gentler on the gelcoat than periodic heavy work, since each heavy polish removes material that cannot be put back.
Where you keep the boat matters. A covered slip, a lift with a cover, or shade will extend the life of the finish. A boat that sits uncovered in full sun year round will need more frequent protection.
How restoration is sequenced on a large vessel
On a larger yacht, restoration is planned as a campaign rather than a single afternoon. The vessel is divided into zones such as the hull sides, the topsides, the cabin top, the flybridge, the cockpit and the swim platform, and each zone is taken through its stages before moving on. This keeps the finish consistent and prevents the work from being left half-complete if weather or marina schedules interrupt it.
Weather has a real effect in South Florida. Afternoon thunderstorms, strong sun and high humidity all change how products behave. Compounds dry faster in direct sun and surfaces get hot enough to soften gelcoat, so polishing is often planned for shaded hours or on the shaded side of the hull. Rain can ruin a freshly applied sealant, so protection is timed for dry conditions.
Access to the vessel is also part of the plan. Marinas may limit when noisy equipment can be used, where water can be run, and how long a contractor can occupy a dock. Owners with crew should let the technician know who to coordinate with, since a captain's knowledge of the boat's quirks, hidden fittings and past repairs saves time and avoids mistakes.
- Plan zones so each is finished before the next begins
- Schedule polishing for shade or cooler hours when possible
- Protect finished areas from rain and from other trades working nearby
- Coordinate with the captain or manager about access and marina rules
- Leave the final wipe-down and inspection for the end of each zone
Questions worth asking any restoration provider
Restoration is an area where expectations and methods vary widely, so it pays to ask questions before agreeing to anything. Ask how the surface will be tested, how many stages the plan includes, and what happens if the gelcoat turns out to be thinner than expected. A thoughtful provider will have a ready answer for each, and will say what they would stop doing if the surface shows signs of trouble.
Ask what will be protected during the work. Trim, decals, windows, teak and canvas all need protection from compound and polish residue. Ask how runoff and residue will be handled according to the marina's rules. And ask what you should do afterward to keep the result, since that is where much of the value lies.
Be wary of anyone who promises a perfect, like-new result on every hull without looking at it, or who proposes the most aggressive process by default. The owner guide on what to ask before hiring a detailer has a fuller list, and the guide to how detailers quote yacht work explains why quotes depend on what the surface actually shows.
What to have ready when you call
Describe the vessel type, length, hull color and marina. Say how long it has been since the last polish or wax, and what you see: chalk, stains, scratches, dull areas, cloudy glass, faded vinyl. If you know of repairs or repaints, mention them. Photos are helpful if you can share them during the conversation.
Quotes are given by phone only. Restoration jobs are rarely simple, so an on-site visit is common. There is a service call charge for that visit, and it is explained on the phone before dispatch. The visit lets the technician run test patches and give you a plan that matches the real condition of the boat.
If you are unsure whether your boat needs a detail or a full restoration, say so. That is a normal question. Call and we will talk through what you are seeing and what the next step should be.
Questions people ask
What is the difference between detailing and restoration?
Detailing cleans, lightly polishes and protects a surface that is mostly healthy. Restoration is for surfaces that have gone past that, such as heavily chalked, stained or scratched gelcoat. It takes more stages, more time and removes more material, so it is planned carefully after test patches show what the surface can handle.
Can every weathered boat be restored?
Many can, but not all. Thin gelcoat, cracks, blisters or exposed fibers set limits that compounding cannot overcome. A technician will test several areas and tell you honestly what is possible. Where gelcoat is too thin, they will suggest protection, repair or repaint rather than risk cutting through.
Is wet sanding always needed?
No. Wet sanding is used only where scratches, stains or oxidation are too deep for compound alone. Many boats come back with compounding and polishing only. Because wet sanding removes more material, it is used sparingly and only on gelcoat with enough thickness to handle it.
How long does restoration take?
It depends on the size of the vessel, the condition of the surfaces and how many stages are needed. A small, evenly weathered boat goes much faster than a large yacht with mixed conditions. The estimate is discussed on the phone, and larger jobs may need an on-site visit first.
Will the restored finish last?
It lasts longer when protected and maintained. A sealant or ceramic coating, regular washing and a fresh-water rinse after use all help. A bare restored surface oxidizes faster, so protection is part of the work. No finish is permanent, and sun exposure affects how long it holds up.
How do I get a quote?
Call and describe the vessel and what you see. Quotes are given only by phone. Restoration usually needs an on-site visit so test patches can be done, and there is a service call charge for that visit that is explained on the phone before anyone is dispatched.
Describe the situation by phone and we will tell you what the job involves. Quotes are given by phone. Jobs that cannot be quoted without seeing them need a technician on site, and the service call charge is explained on the phone before anyone is dispatched.
(954) 719-3572Related pages
Surface checks that decide which restoration steps are needed
Restoration is not one fixed recipe, and the surface itself decides which steps are worth taking. A technician begins by running a clean hand over the gelcoat to feel for roughness, then looks at the finish from different angles to judge how much shine remains. A paint thickness gauge is not always available, so careful observation and a small test area carry a lot of weight. The aim is to find the gentlest approach that gives the result the owner wants, instead of starting with the most aggressive option and hoping for the best.
A small test section is worked first with the mildest polish and pad combination that might work. If the result is good, that combination becomes the plan. If not, the technician steps up gradually, always checking that gelcoat is being removed in small amounts and never in a way that risks cutting through. Notes are kept about which pad and product worked on which area, because different panels can respond differently, especially where the surface has been repaired or repainted in the past. This method protects the gelcoat, which is a finite layer.
The results of the test are then explained to the owner in plain language, with a clear picture of what the full restoration will involve and what it cannot fix. Deep gouges, cracks and structural damage are outside the scope of a surface restoration and should be referred to a repair specialist. Honest expectations are part of the process, so the owner is never told that a surface will look new if it will not. The scope and any quote are explained before work begins, and the plan can be adjusted as the work proceeds.