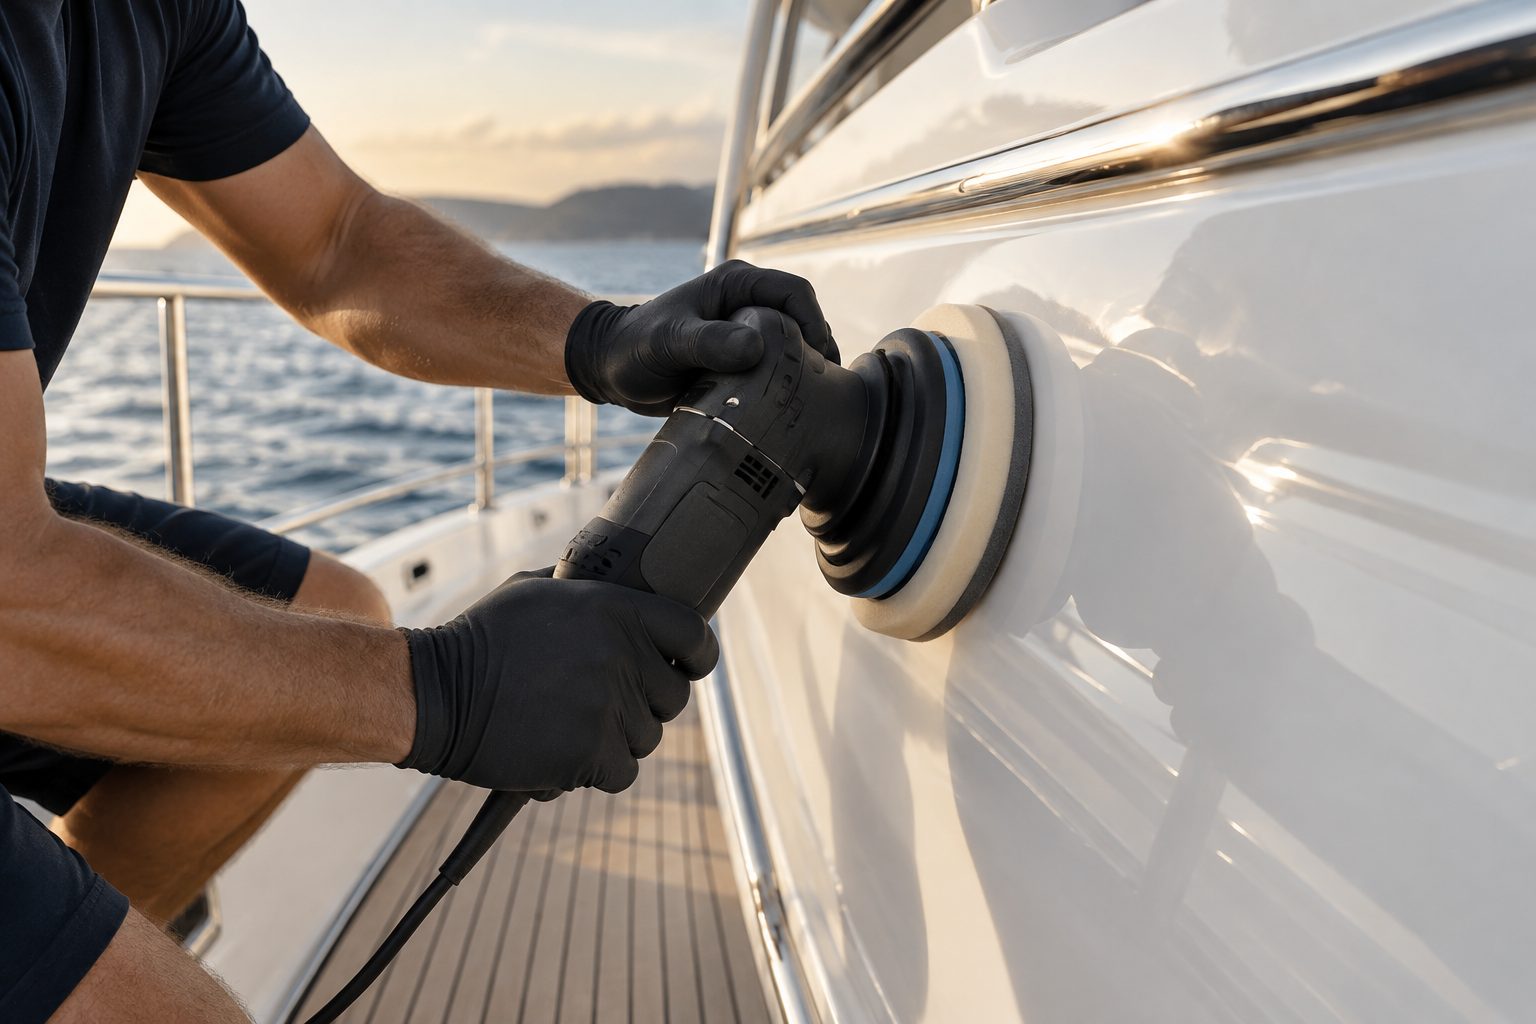
Why a proper wash matters more than it seems
Every other detailing service depends on washing. Polishing, coating, waxing, glass cleaning and stain removal all start with a clean surface, and a wash is the main way that surface stays clean between those services. It also happens more often than any other service, which means that small mistakes are repeated dozens of times a year.
Those small mistakes add up. A dirty sponge drags grit across gelcoat and leaves fine swirls. A stiff brush wears through wax and sealant. Soap left to dry in the sun leaves spots and film. Hard water left on glass etches it. A wash done in the wrong order drags dirty runoff over clean surfaces. Over a season, the finish becomes dull and scratched, and the owner blames the sun when the washing did half the harm.
In South Florida the stakes are higher because boats are washed often. Salt, humidity, bird droppings, rain residue and pollen all need regular removal. A wash that is gentle and correct protects the finish and the protective layers on it. A wash that is rough undoes the work of every other service, which is why it deserves the same attention as any other part of detailing.
Fresh water, and what is in it
Washing starts with fresh water. Salt water or dock water from a canal leaves residue and carries dirt. A fresh water rinse first dissolves salt and removes loose grit before anything touches the surface. This step matters because salt crystals and sand act like abrasive if dragged across the finish with a mitt.
Not all fresh water is the same. Hard water, with high mineral content, leaves spots as it dries. Marina water supplies, well water and some municipal supplies carry minerals that show up as white marks on dark hulls, glass and stainless. Some professionals use filtered or deionized water for the final rinse, which dries without leaving minerals behind. This is not always practical dockside, and a good detailer plans for it by washing in sections and drying quickly, which reduces the time water sits on the surface.
Water pressure also matters. A gentle, flowing rinse is better than a hard jet. High pressure can force water into seals, push dirt into the finish, strip wax and lift decals. The guide on avoiding pressure washer damage explains the risks in detail. For washing, a normal hose with a nozzle that gives a soft spray is the usual tool.
Soaps and what to keep out of the bucket
A boat soap should be pH-neutral or close to it, made for marine use, and diluted as directed. It should lubricate the surface, lift dirt and rinse cleanly without leaving film. Many products are designed to be gentle on wax, sealants and coatings.
Several common products should stay out of the wash bucket. Household dish soap is made to strip grease, and it can strip wax and sealant too. Laundry detergents and floor cleaners contain surfactants and builders that can dull finishes and dry out vinyl. Bleach harms stainless, canvas, vinyl and many other materials, and strong degreasers can damage coatings. The guide on why household cleaners damage boats explains how.
Where a stain needs more than soap, the stain is treated separately, with a product suited to the stain and the surface, and not by making the whole wash stronger. This approach protects the rest of the boat from chemicals it does not need.
Soft media: mitts, brushes and towels
The things that touch the finish matter as much as the soap. A good wash mitt is made of soft, plush microfiber or lambswool, with long fibers that hold dirt away from the surface. A stiff brush or rough sponge pushes grit across the finish and leaves scratches. On non-skid, a stiffer brush is needed to clean the texture, but it should be a marine brush made for the job and kept separate from the one used on smooth gelcoat.
Cleanliness of the tools is as important as their type. A mitt that has fallen on the dock picks up grit and must be rinsed thoroughly or replaced before it touches the hull. A towel used on a greasy area should not be used on glass. Professional crews use many mitts and towels, and keep them separate by task, by area and by dirtiness.
The bucket method helps. One bucket holds soap solution and another holds rinse water, with the mitt dipped in soap, used on a small area and rinsed in the second bucket before returning to the soap. This keeps grit out of the soap. On a large yacht, the same idea is applied in sections, with mitts changed often. It takes longer, and it is one of the main differences between a careful wash and a fast one.
The order of work: top to bottom, dry before wet
Order is one of the most important parts of a good wash. Work begins at the highest point of the vessel and moves down, so that dirty water runs onto surfaces that have not yet been washed and not onto ones that are finished. On a motor yacht that usually means the flybridge or top deck first, then the upper decks, the superstructure, the cockpit and the hull sides, and finally the swim platform and lower areas.
Within each area, the sequence is usually a fresh water rinse, soap and mitt in sections, a thorough rinse, and then drying before moving on, so water does not dry in place on the clean sections while the crew works elsewhere. Glass is often cleaned after the surrounding surfaces are washed, since runoff and soap can streak it. Stainless is wiped as the crew passes it, and not left to dry with salt on it.
Where there are heavy dirt areas, such as the waterline, exhaust soot at the transom or stains near scuppers, those are treated separately with suitable products, and not by scrubbing the whole hull harder. The pages on exterior wash down and waterline stain removal explain how those jobs differ from a routine wash.
- Rinse the whole vessel with fresh water to remove salt and loose grit
- Wash from the highest point down, in manageable sections
- Use clean mitts and change them between dirty and clean areas
- Rinse each section thoroughly before soap can dry
- Dry the section by hand before moving on
- Treat stains and heavy soil separately with suitable products
- Finish with glass, stainless and a final walk-around
Drying: the step most people skip
Drying is where result without water spotss come from. When water evaporates from a surface, it leaves behind whatever minerals were dissolved in it. On a glossy hull, dark paint, glass and stainless, those minerals show as spots. In hot sun, they dry fast and bond to the surface. Over time, mineral deposits etch into gelcoat and glass and can be difficult to remove.
The best way to prevent them is to dry by hand. Soft, absorbent microfiber towels, used with a patting or gentle wiping motion, lift water from the surface without scratching. A water blade, used by someone who knows how, can speed up large flat areas, though it must be clean and used with care, since a blade carrying grit scratches. A gentle blower can clear water from crevices, hardware and seams, where it otherwise drips later and leaves streaks.
Drying also gives the crew a chance to inspect. As the towel passes over the surface, it shows contamination that the wash missed, such as embedded grime, rust specks, tar or fuel residue. The crew can then treat those spots before the boat is left. The guide on how to wash your own boat describes drying techniques owners can use between professional visits.
Washing in South Florida conditions
The local climate shapes how washing is done. Sun heats surfaces quickly, so washing in the early morning or late afternoon, or in shade, helps prevent soap and water from drying in place. Wind blows dust and pollen onto a wet surface. Afternoon rain can undo a wash within hours and leaves its own residue, particularly during the wet months. Sprinklers on some docks and seawalls spray hard water onto boats.
These conditions make timing and methods important. A crew may break a large wash into sections and finish each before moving on. It may start early to avoid the hottest hours. It may choose to dry as it goes. Weather can delay a visit, and the crew cannot promise exact timing, though careful planning reduces the impact.
Bird traffic is another factor. Droppings are acidic and can etch finishes if left, so they are softened and removed carefully, not scrubbed. The page on bird droppings on boats explains the problem and the safe removal method.
Different surfaces need different wash methods
A yacht is not a single material, and a good wash adapts. Gelcoat and painted hull sides take a soft mitt and gentle soap. Non-skid decks need a stiffer brush and a cleaner that gets into the texture. Teak needs soft handling and the right products, as the page on teak deck care explains, since scrubbing against the grain or using harsh cleaners damages the wood. Canvas and isinglass need gentle soap and soft cloths, since scratches and chemical clouding are permanent.
Stainless and chrome are washed and then dried and wiped, to prevent salt from sitting on them. Anodized aluminum needs gentle products. Vinyl upholstery takes a mild cleaner and a soft brush. Glass is cleaned with a glass-safe product. Each surface has its own tools, and a good crew keeps them separate to avoid cross contamination.
Where a surface has a protective coating, such as ceramic, the wash follows the coating maker's guidance, as described on the ceramic coating maintenance page. Where the surface has graphics, edges are treated gently, as described in hull graphics and decal care.
Common mistakes that scratch or dull a finish
A handful of mistakes cause most of the damage. Washing a dry, dusty surface without rinsing first. Using one mitt for the entire boat. Using a dirty towel. Dropping a mitt and picking it up without rinsing. Using abrasive pads on gelcoat. Washing in direct sun. Letting soap dry. Using the wrong soap. Pressure washing too close. Skipping the dry step. Towel-drying with a rough or dirty cloth.
Many of these come from haste. Crews that are rushed, or owners who want to finish quickly, cut corners at exactly the points where care matters. The result is a boat that looks clean but is being slowly scratched and dulled. When the owner later pays for polishing to remove the swirls, the cost is higher than a careful wash would have been.
A related mistake is to treat a wash as a substitute for other services. A wash removes dirt. It does not remove oxidation, deep stains or etching, and it does not replace protection. The page on yacht detailing versus boat washing explains where the line falls.
What a wash and dry visit includes
A typical visit begins with a walk-around and a plan, taking account of weather, the layout of the dock and anything the owner or captain wants treated with care. The crew sets up, rinses the vessel, and washes from top to bottom with clean tools. Heavy soiling is treated separately. Each section is rinsed and dried. Glass, stainless and hardware are cleaned and dried. The crew checks for stains, scratches or damage and reports what it finds.
At the end, the vessel is dry, clean and clear of spots. Protection is not part of a basic wash, although a maintenance topper or wax can be added where suitable. The crew leaves the dock area clean, and respects the marina rules described in the guide to dockside detailing and marina rules.
To arrange a wash and dry, whether one-off or on a regular schedule, call. Tell us the type and approximate size of the vessel, where it is docked, the protective layers on it if you know them, and anything you want treated carefully. Quotes are given by phone, and a more complicated job may need an on-site visit first, with a service call charge explained before dispatch.
Questions people ask
Why do you wash from the top down?
Dirty water runs downward, so washing high areas first keeps runoff from landing on surfaces that are already clean. It also means each area is rinsed once, with less repeat work. On a large vessel, this order saves time and avoids streaks and re-soiling.
Is it necessary to dry the boat by hand?
Yes, if you want a result without water spots. Water left to evaporate leaves minerals that show as spots on glass, dark finishes and stainless, and in hot sun they can bond or etch. Hand drying with soft microfiber towels also lets the crew spot contamination the wash missed.
Can I use dish soap to wash my boat?
It is not recommended. Dish soap is made to cut grease and can strip wax and sealant, and it may dry out vinyl. A pH-neutral boat soap, diluted as directed, cleans without those effects. Stubborn stains should be treated separately with a product suited to the surface.
Do you use a pressure washer?
A normal hose with a soft spray is the usual tool for routine washing. Pressure washers can force water into seals, strip protection and lift decals and film. Where higher pressure has a use, such as on some non-skid or on a hull below the waterline, it is used carefully and kept away from edges and graphics.
Will washing remove oxidation or stains?
Not usually. A wash removes loose dirt, salt and light film. Oxidation, deep stains, etching and scratches need other services, such as compounding, polishing or specific stain treatments. A careful wash is still the foundation, since every other service starts with a clean surface.
How are quotes handled for wash and dry service?
Quotes are given only by phone, based on the type and size of the vessel and the condition. Larger or neglected vessels may need an on-site look first. There is a service call charge, and it is explained on the phone before anyone is dispatched.
Describe the situation by phone and we will tell you what the job involves. Quotes are given by phone. Jobs that cannot be quoted without seeing them need a technician on site, and the service call charge is explained on the phone before anyone is dispatched.
(954) 719-3572Related pages
Setting up the work area before the first drop of water
A good wash starts with preparation, not soap. The crew walks the boat first, closing hatches, ports and lockers, covering open vents, and checking that nothing loose will blow or wash away. Lines, fenders and cushions that might be damaged by water are moved or protected. Hoses are laid out so they do not drag across clean decks, and buckets, mitts and towels are staged within easy reach. This takes only a few minutes, but it prevents missed spots, dropped tools and accidental soaking of cabin interiors. If anything looks different once the work starts, we stop and talk it through first.
The surroundings need attention as well. Dock neighbors, electrical pedestals, nearby boats and pets all affect how and where water flows. Runoff should not splash onto a neighboring yacht or flow down a dock where people walk. The crew positions hoses and buckets with that in mind and keeps spray directed away from shared spaces. If the dock is crowded or the wind is strong, the work may be done in sections or at a different time of day to keep everyone comfortable. That small habit tends to pay off across the whole season.
Owners can help by leaving a clear path to the boat, mentioning any hatches that leak and showing where fresh water is available. If a shore power cable or a cleaning-related hose connection requires special handling, say so up front. A quick note about areas that should not be touched, such as freshly varnished wood or a recent repair, helps the crew avoid mistakes. Setting these basics right keeps the wash itself efficient and makes the dry-down much easier. It is a modest step, but it prevents a surprising amount of rework.